 Easter is just days away and today has been dedicated to the new tradition Polar Bear and I started last year. I found this idea on Pinterest, and the directions here are super easy to follow http://www.ourbestbites.com/2012/03/silk-dyed-eggs-aka-tie-dyed/ but I’m gunna summarize the directions here for you too!
First you need some eggs. I use white, large eggs. I have never tried with brown eggs so I can’t say how well this works with them, but if you give it a shot then let me know!
 I blow my eggs out so that I can keep these forever. I think they are too pretty to smash and eat. However, you can totally do this with whole eggs and just hard boil them in the process. To blow out and egg we use a small push-pin to stab a small hole at the top and bottom of the egg. Then, over a bowl you gently place your lips at one end of the egg and blow the contents out the other hole. CAUTION: Be super gentle with the eggs, this is hard and frustrating so too much grip will crack the eggs. Polar Bear cracked three today… tisk tisk risk.
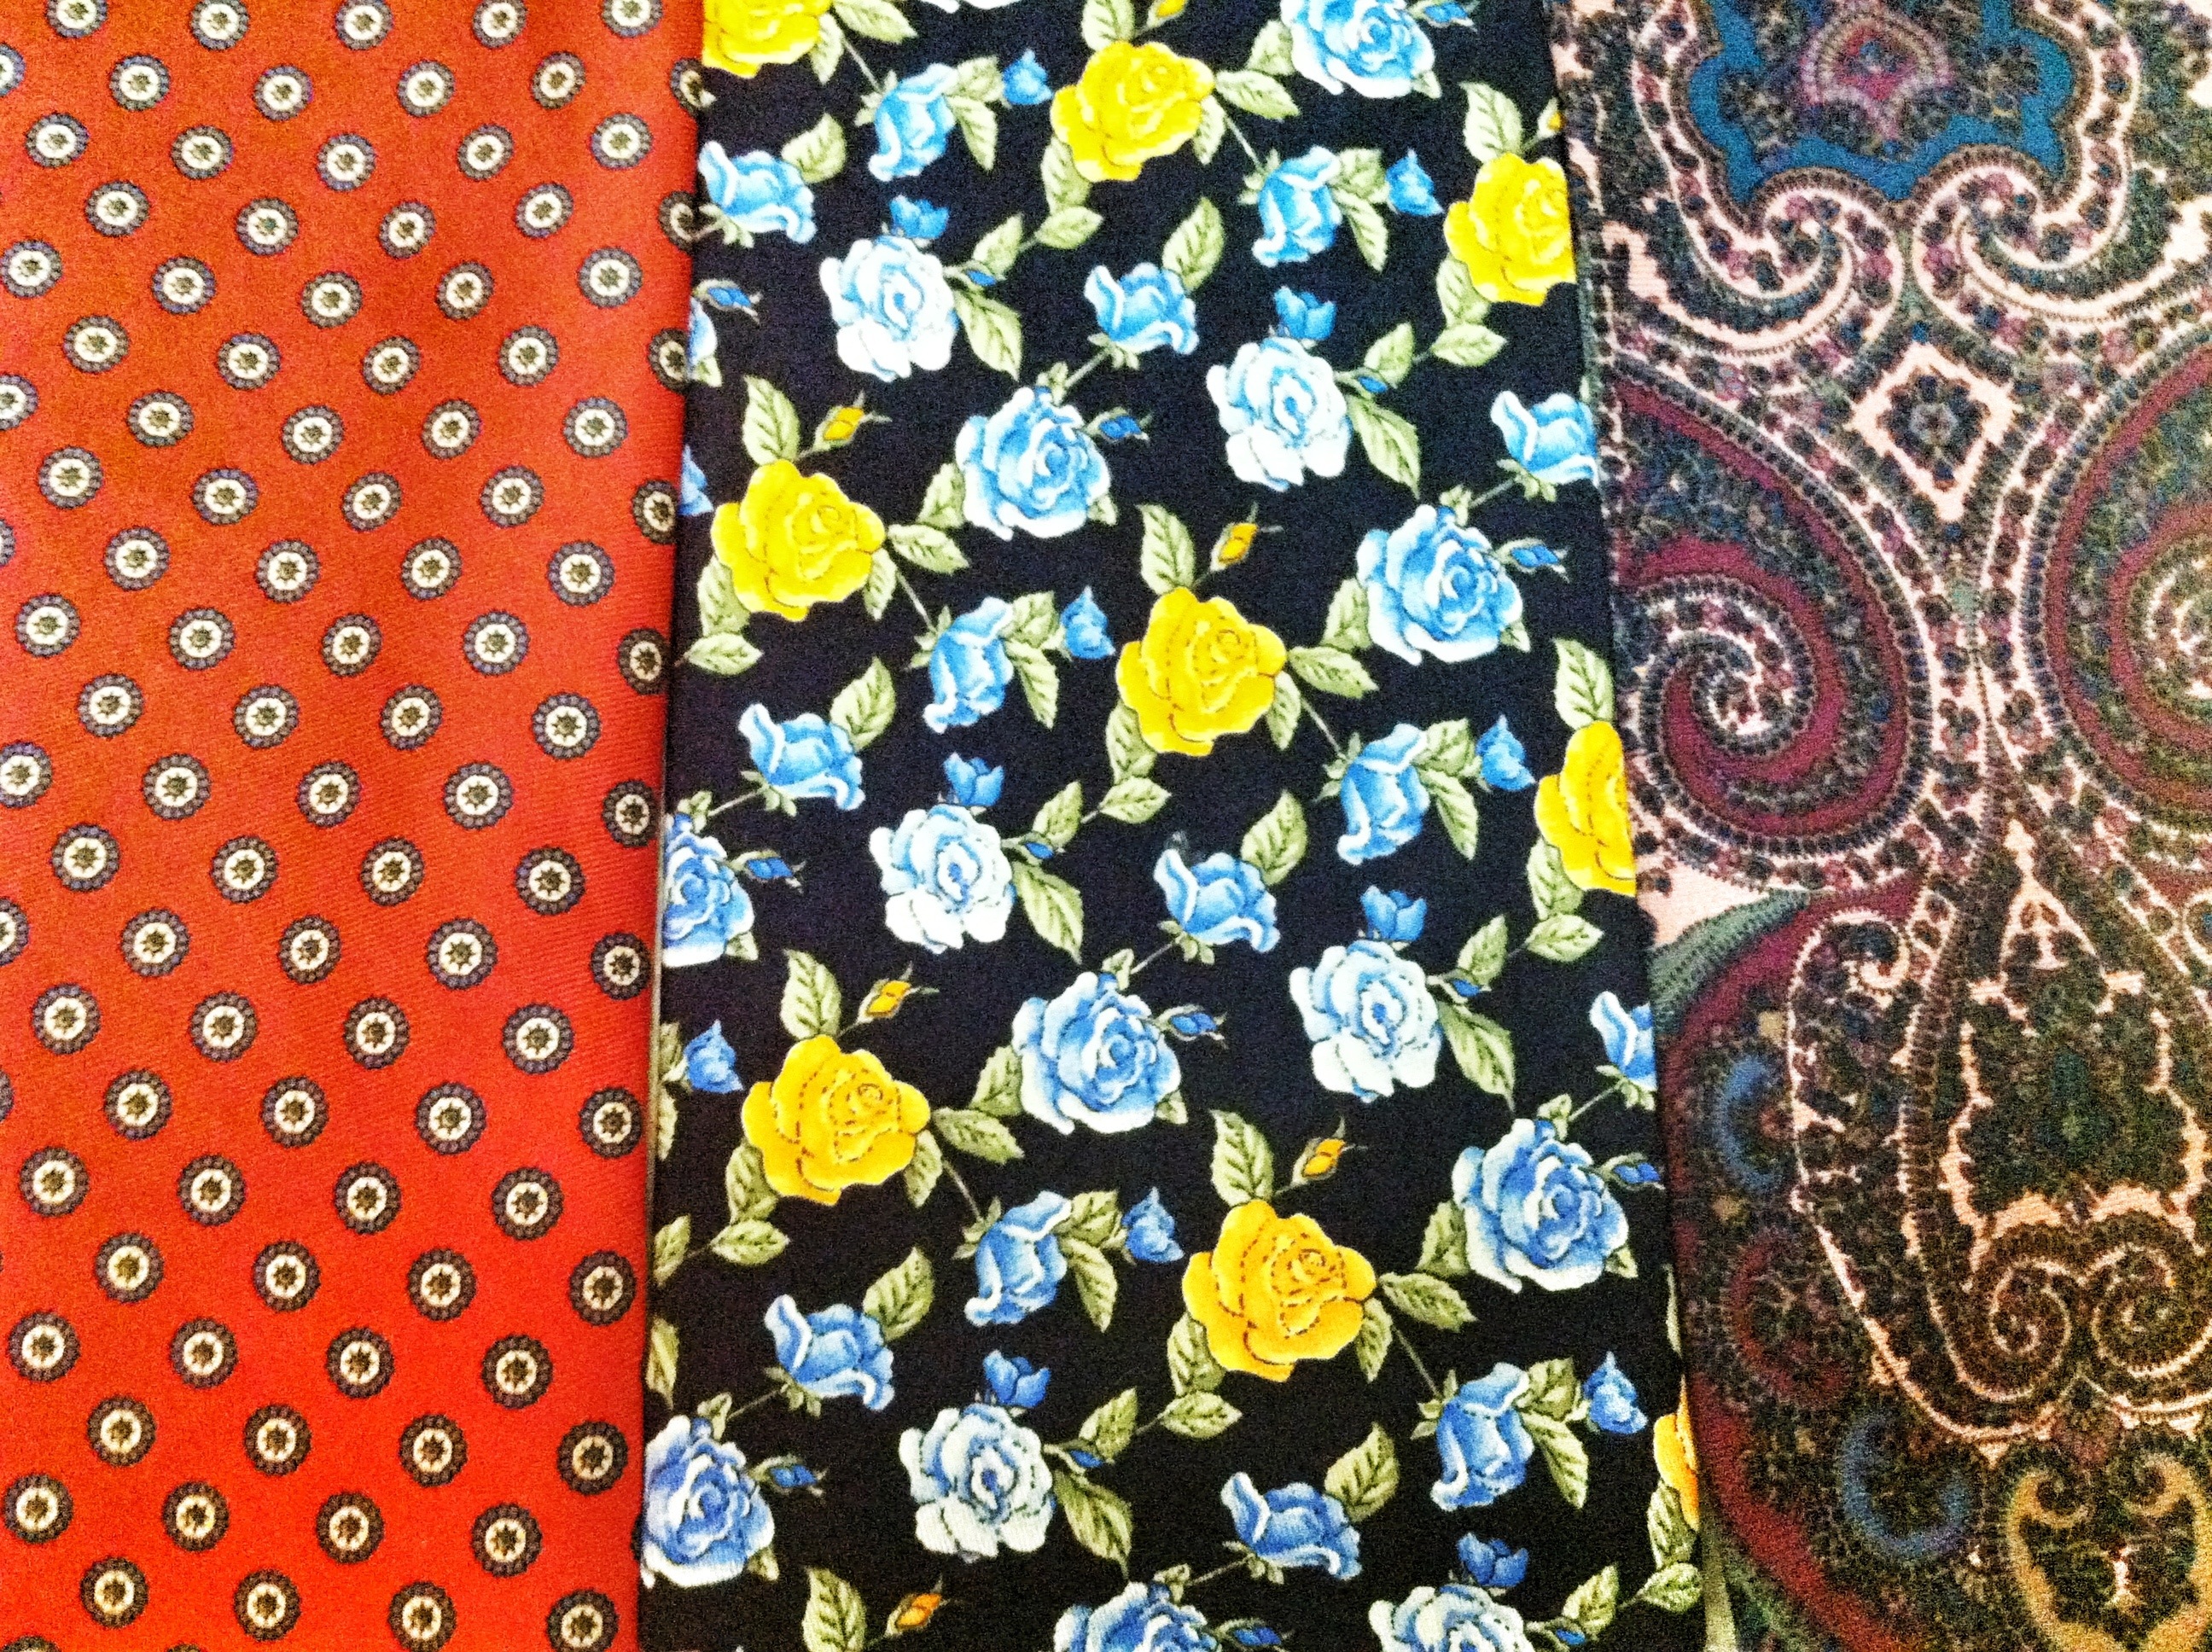
Once your eggs are hollow and ready to go, pick your tie! The tie MUST be 100% silk. This is usually marked on the tie somewhere, either on the back strip or in the tag that is usually tucked in to the small end of the tie. A great place to find ties is at Goodwill, or any other thrift store. Find the ugliest ties you can. As a general rule, if it’s a disaster of a tie for a man, its gunna be a gorgeous egg. Ties with bold deep color work best, light colors and especially green (for some odd reason) do not transfer easily. The egg wont be as deeply colored as the tie, so the more color there is on the tie, the darker your egg will be.
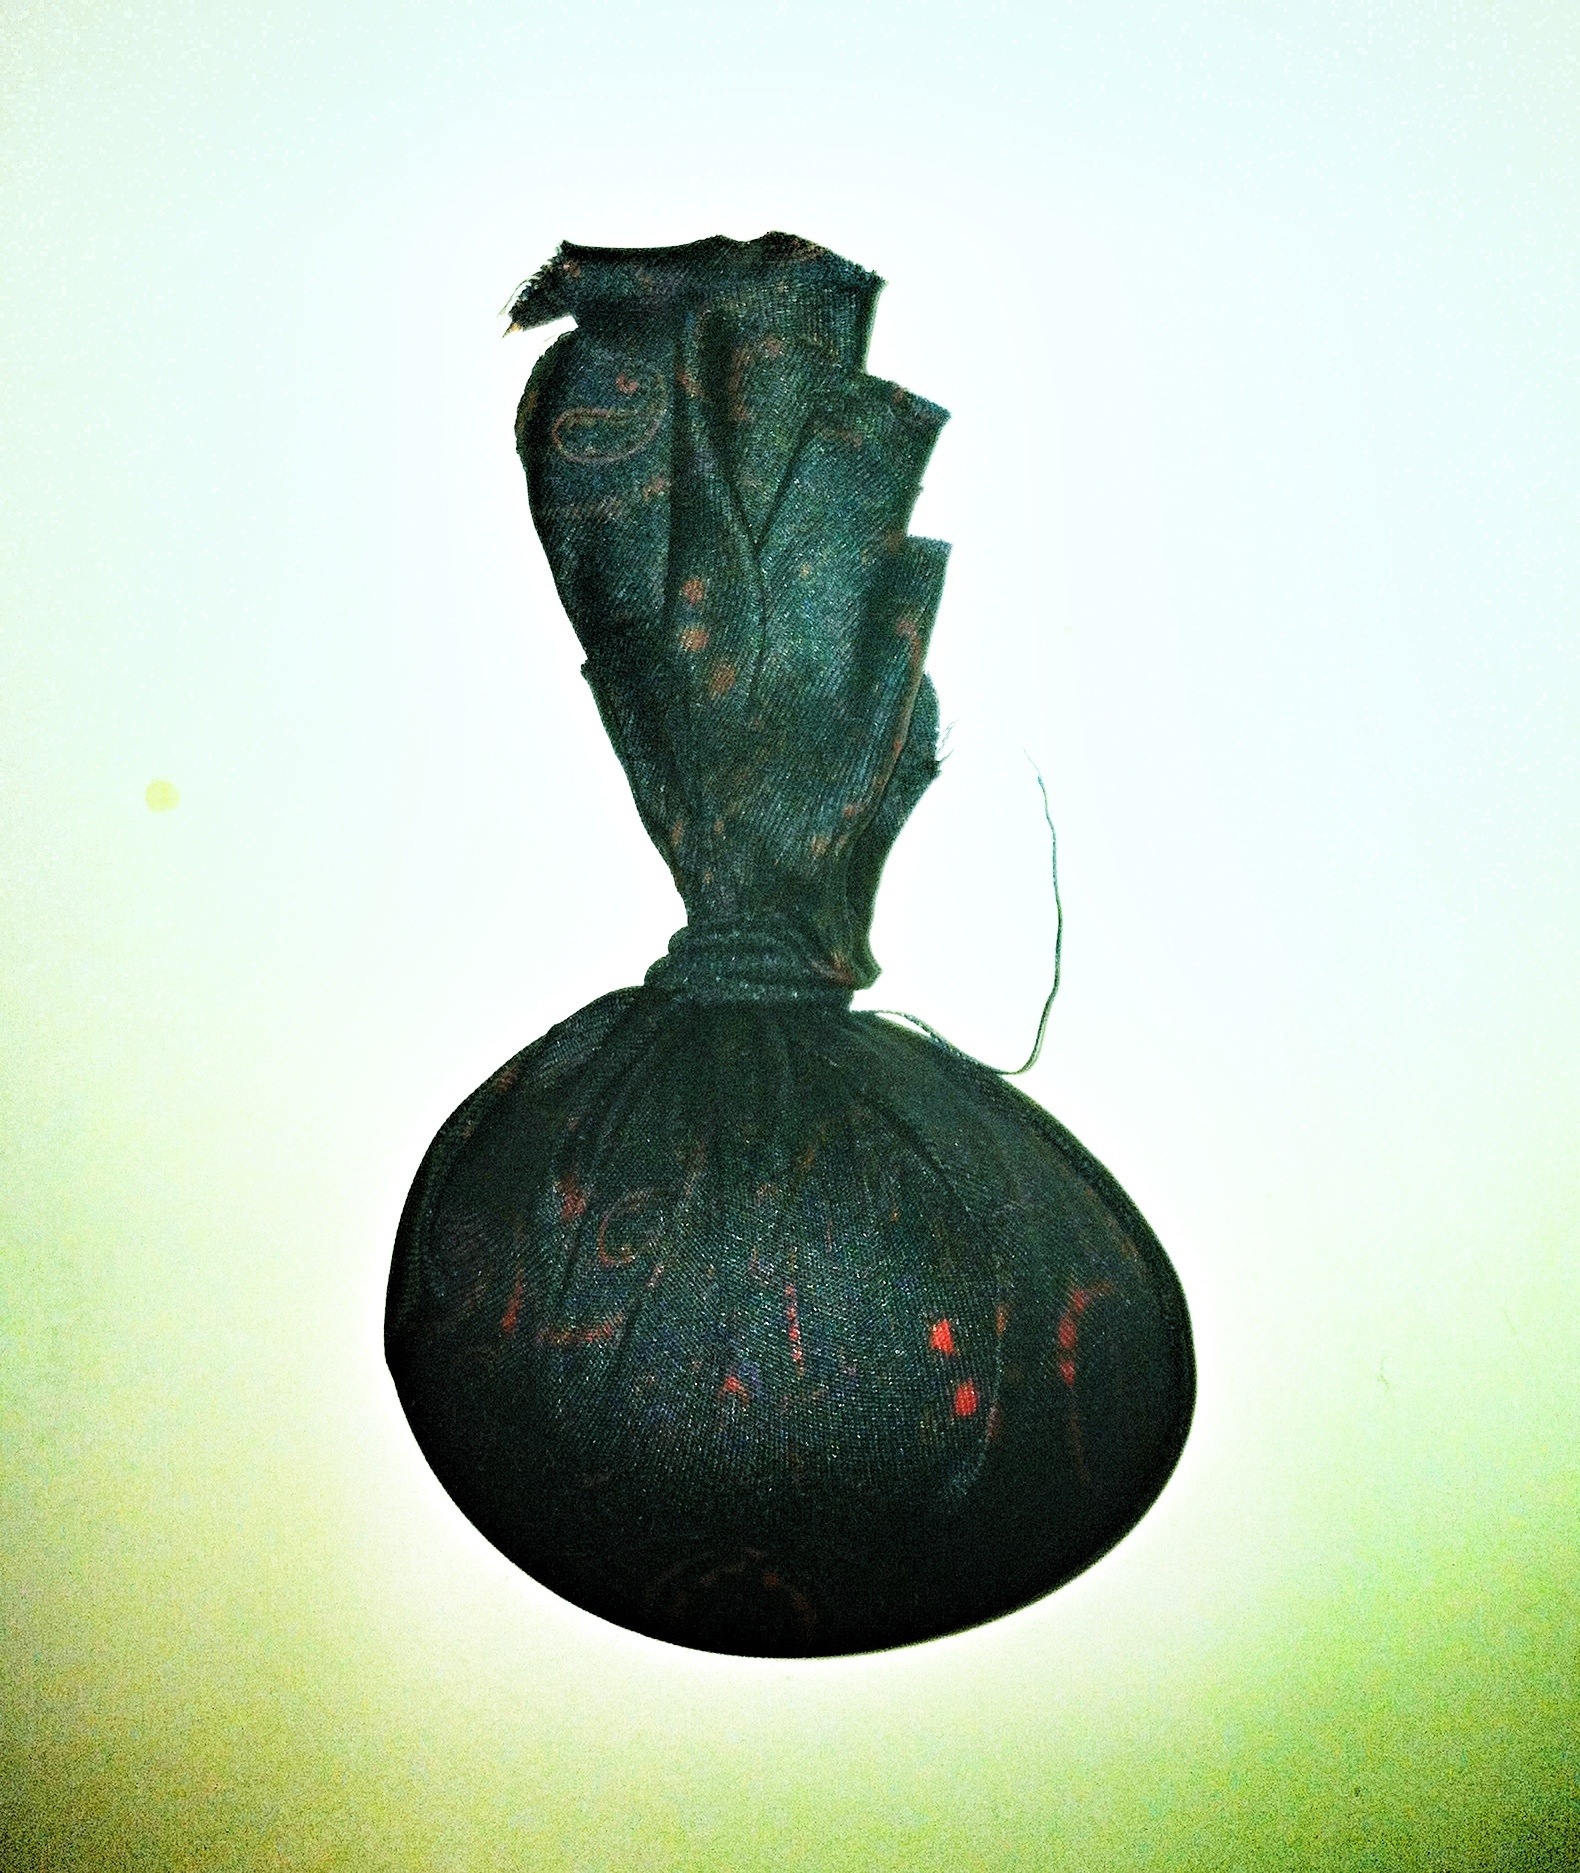
 Cut the tie up. You must deconstruct the tie so that the linings are all gone and you are left with just the silk designed part. Its pretty simple to just use scissors to cut the seams and pull the tie apart. You must then cut off a piece of the silk that is large enough to cover the entire egg. You will wrap the egg in the piece and tie it off, but the outer facing part of the tie (that is the side of the tie that you would see if a man were wearing it) must be in contact with the egg to get the best color transfer. Keep in mind that the place where you tie off the fabric will have the least transfer because it is not stretched tightly over the surface, so the side that you want to have with the design must be the side where the fabric is smooth, even and tight. Your egg should now look like this:
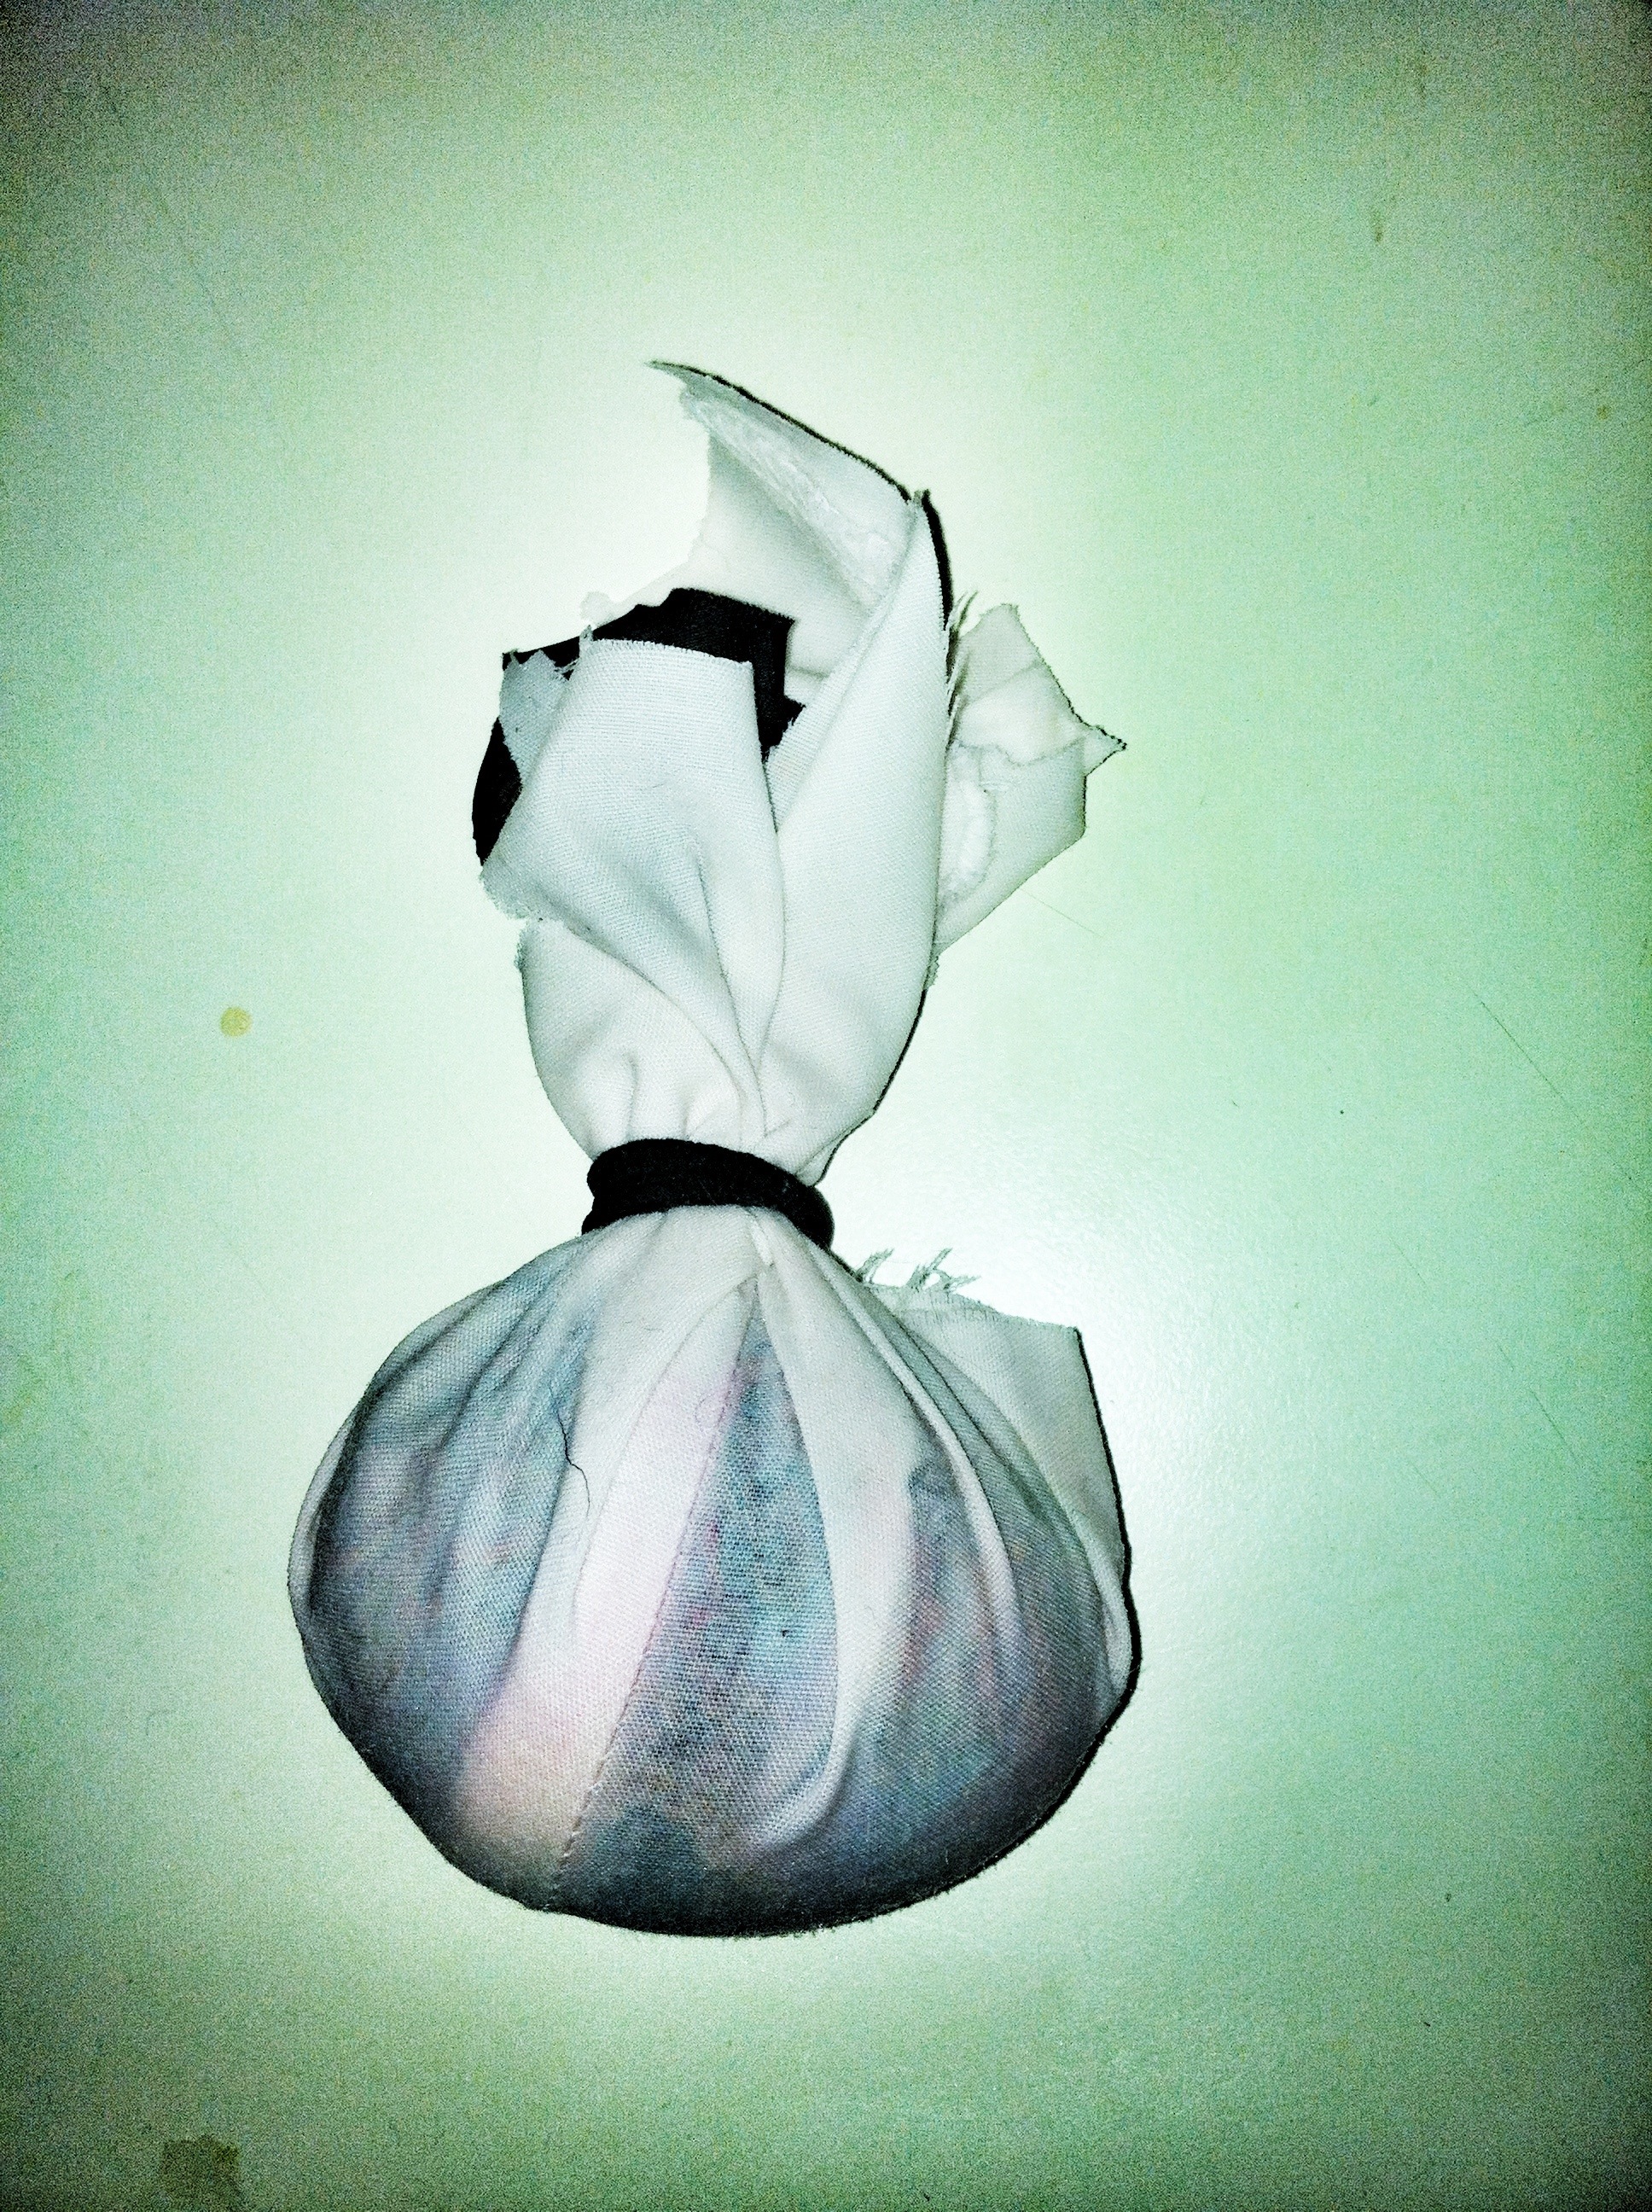
 Next, take a pillow case or a cotton shirt or sheet or anything white and light and cut a piece that will wrap the egg again. This catches some of the die and stops one egg from staining another. Tie it off in the same place and your egg will look like this (except dry because I already submerged this one):
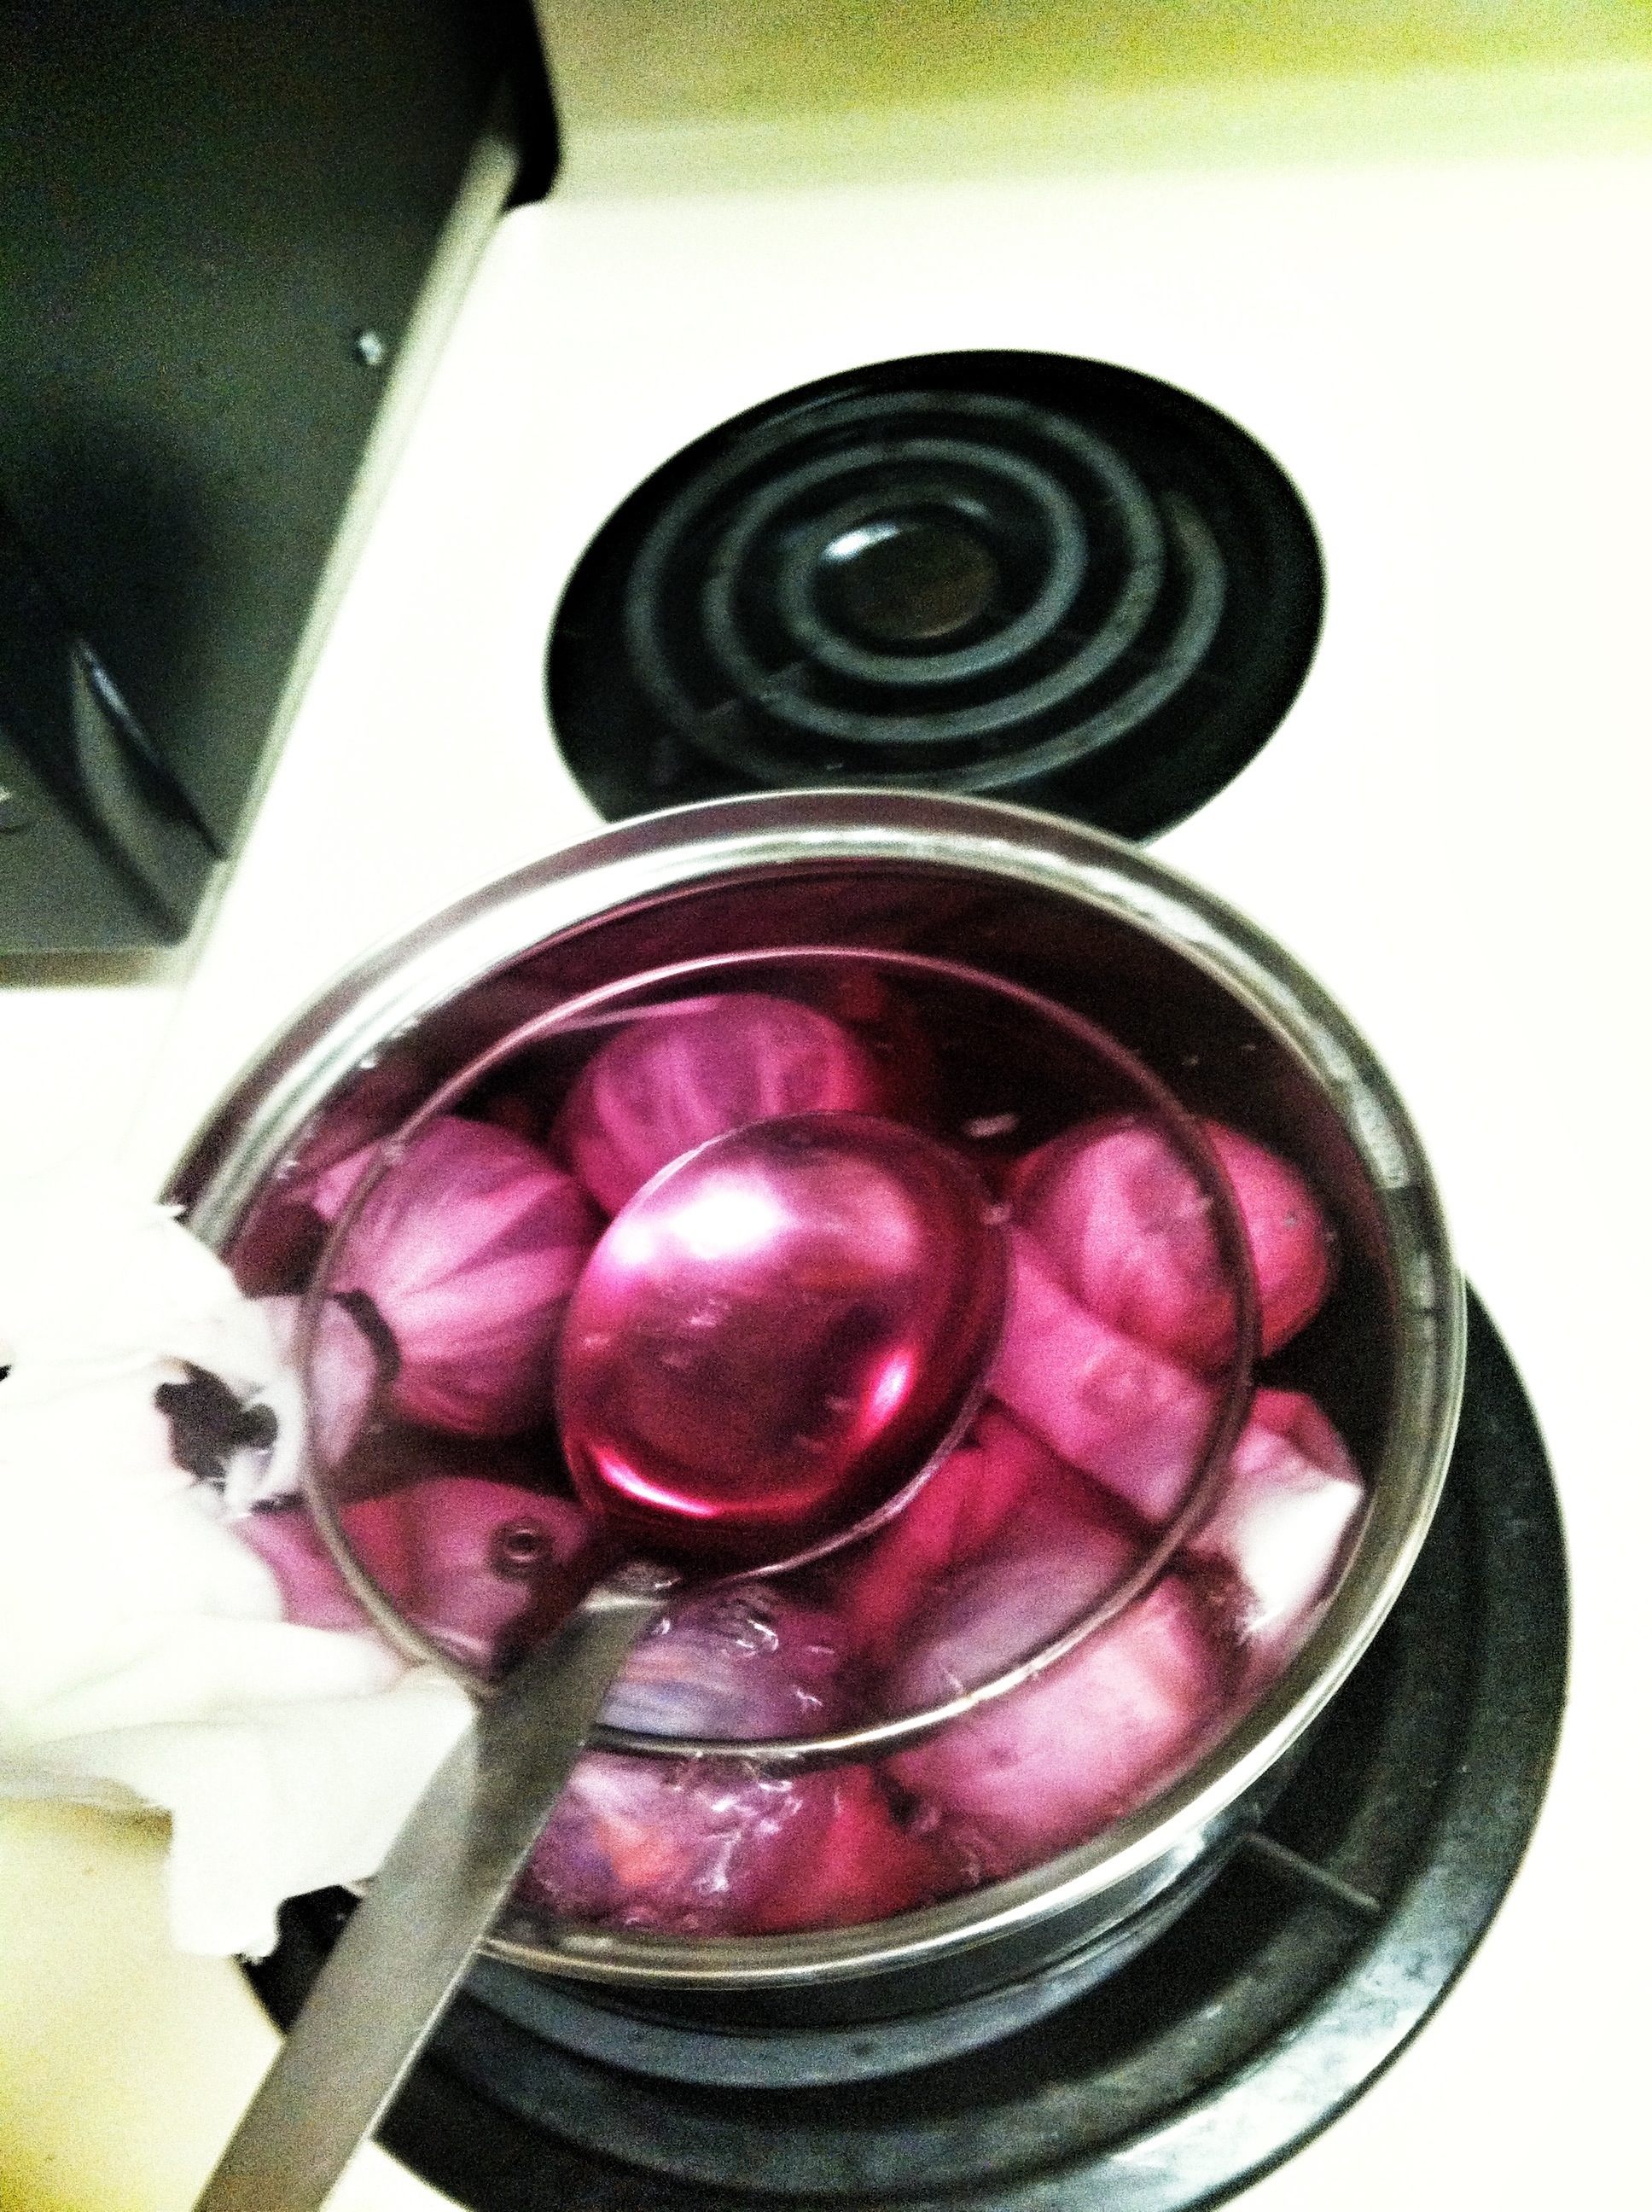
 Now fill a pot with water enough to cover the eggs. I use a stainless steel pot but any kind will do, I’ve never had the dye stain the pot at all. Then add 1/4c vinegar to the water. Put the eggs in and bring the water to a boil. Keep it going (but not boiling over!) for about 20mins. Once 20 minutes has passed, remove the eggs and let them cool in a colander. Once the eggs are cool you can unwrap them and see the beauty! Because I blow my eggs out, they float. To make sure blown out eggs stay submerged I use a small pot lit the push them down, and assist with a spoon like so:
 Non-blown out eggs will sink just fine and will be nice and hard boiled when done – ready to eat!
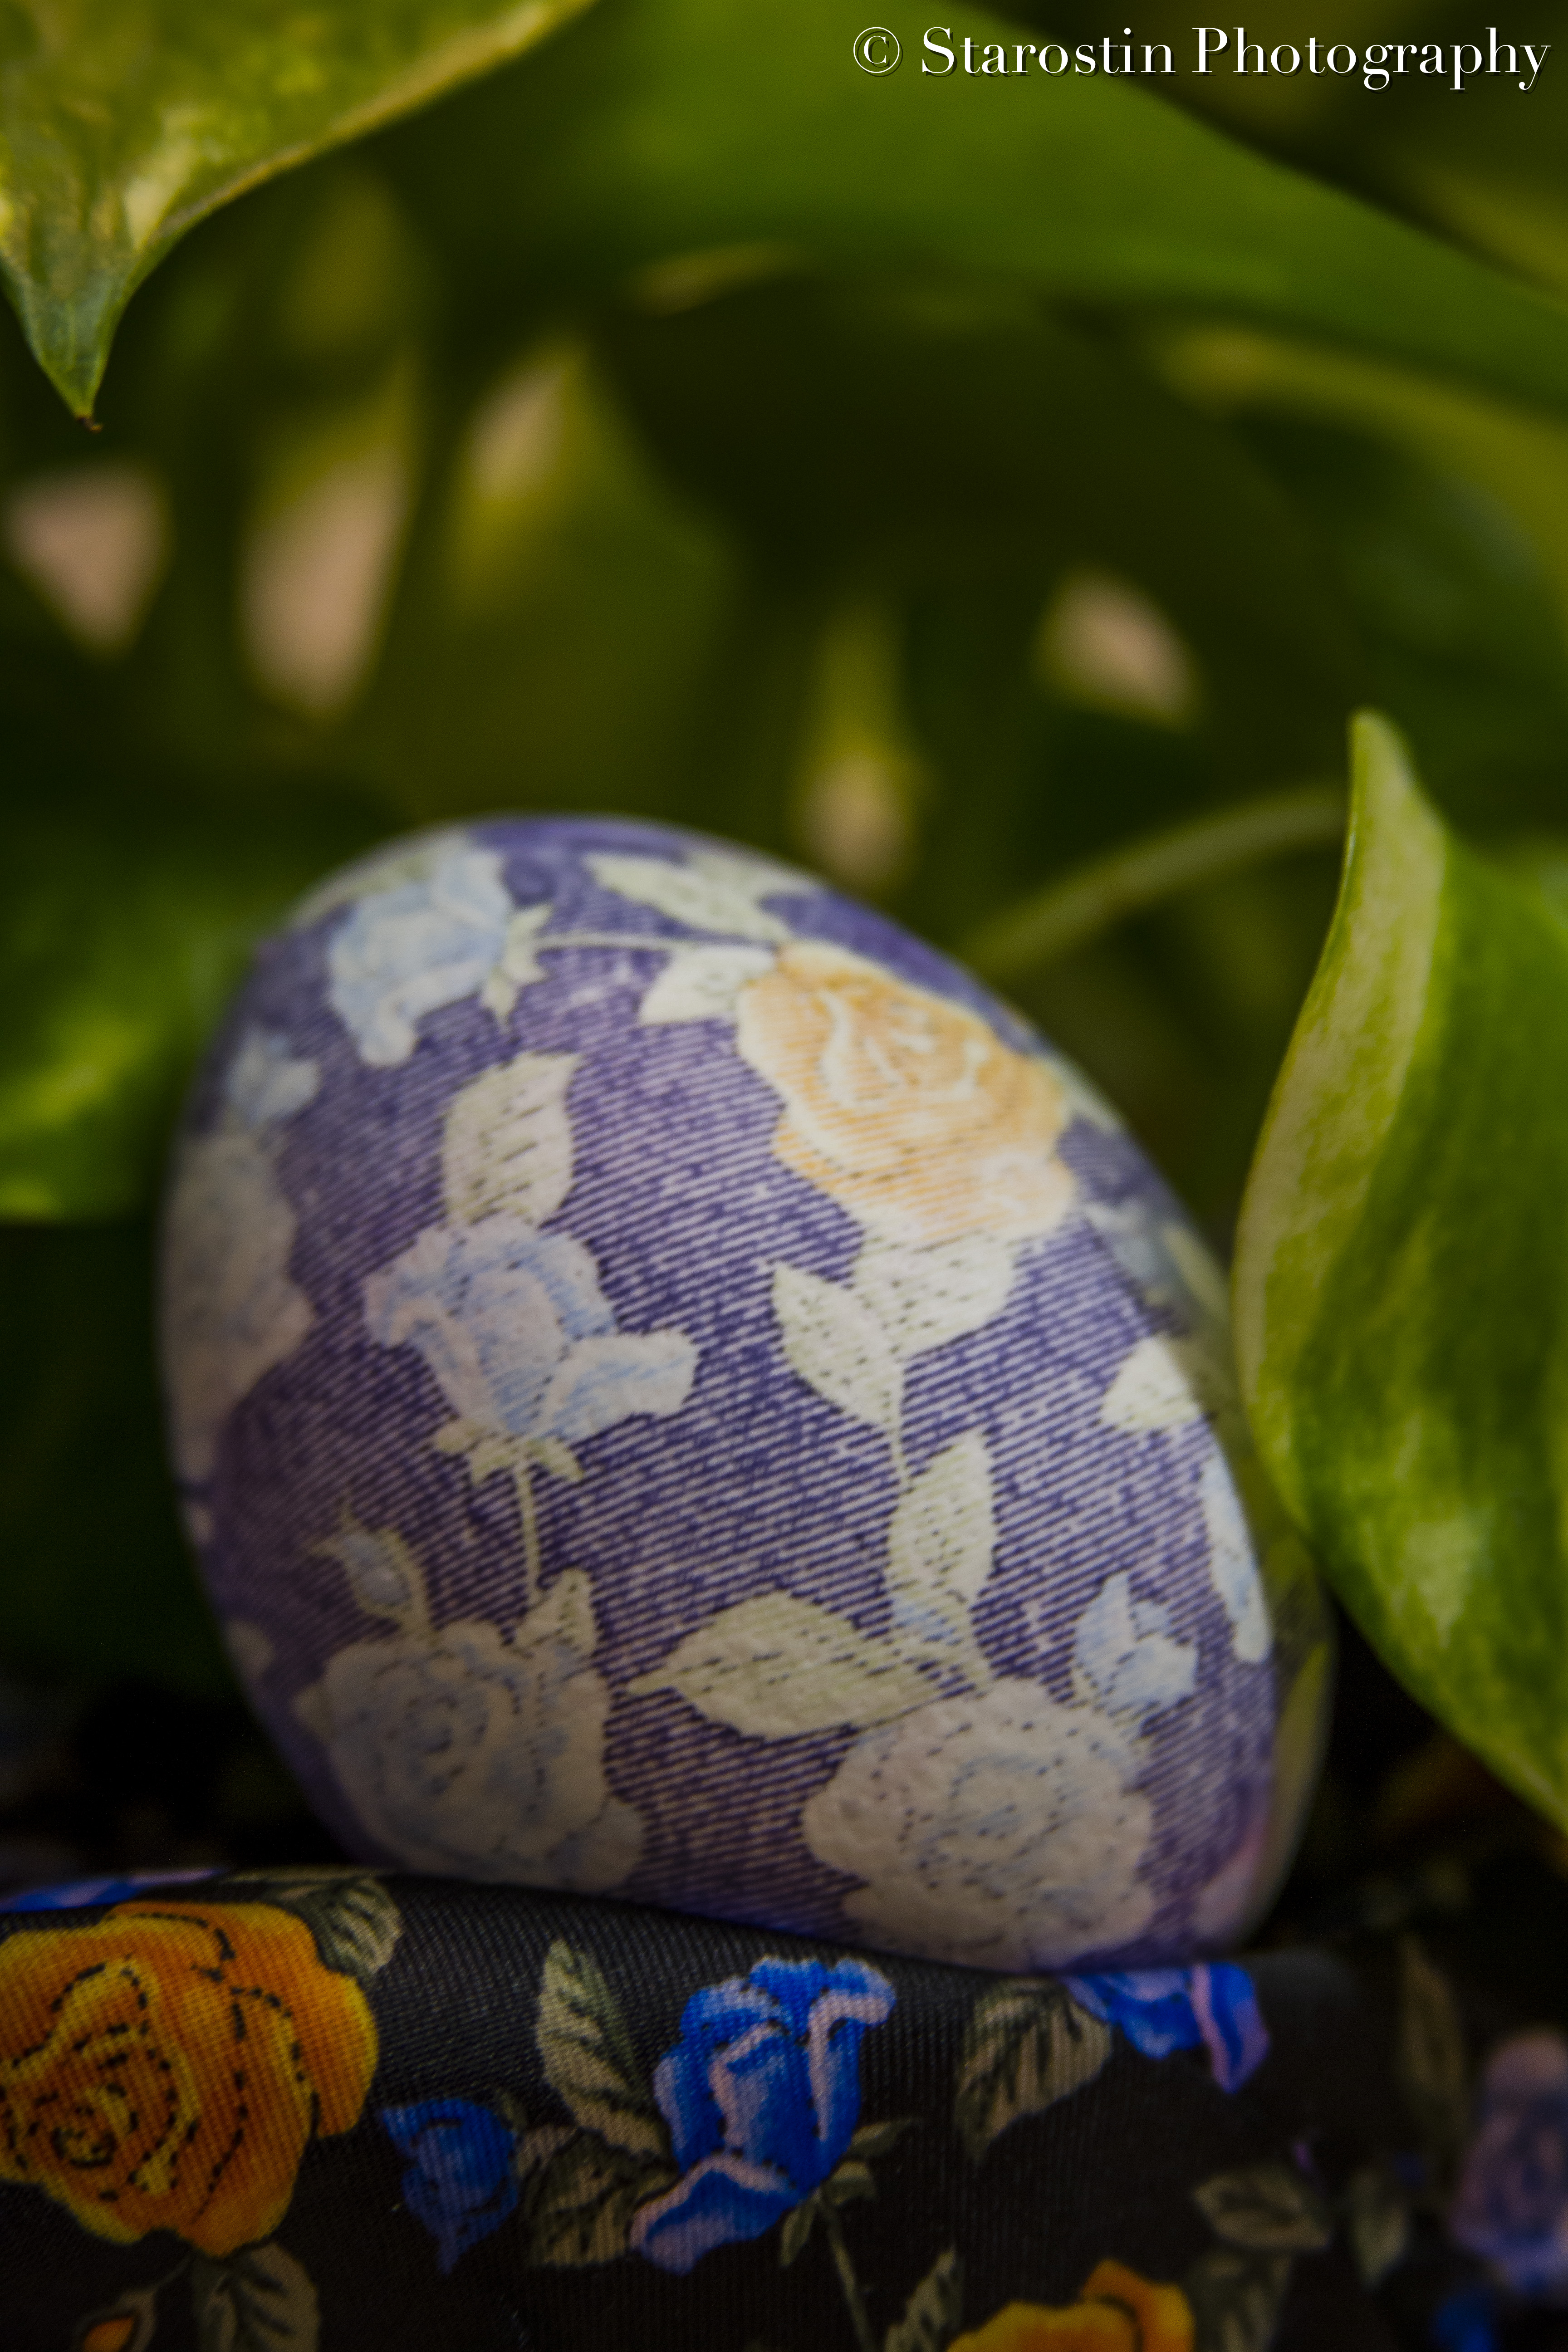
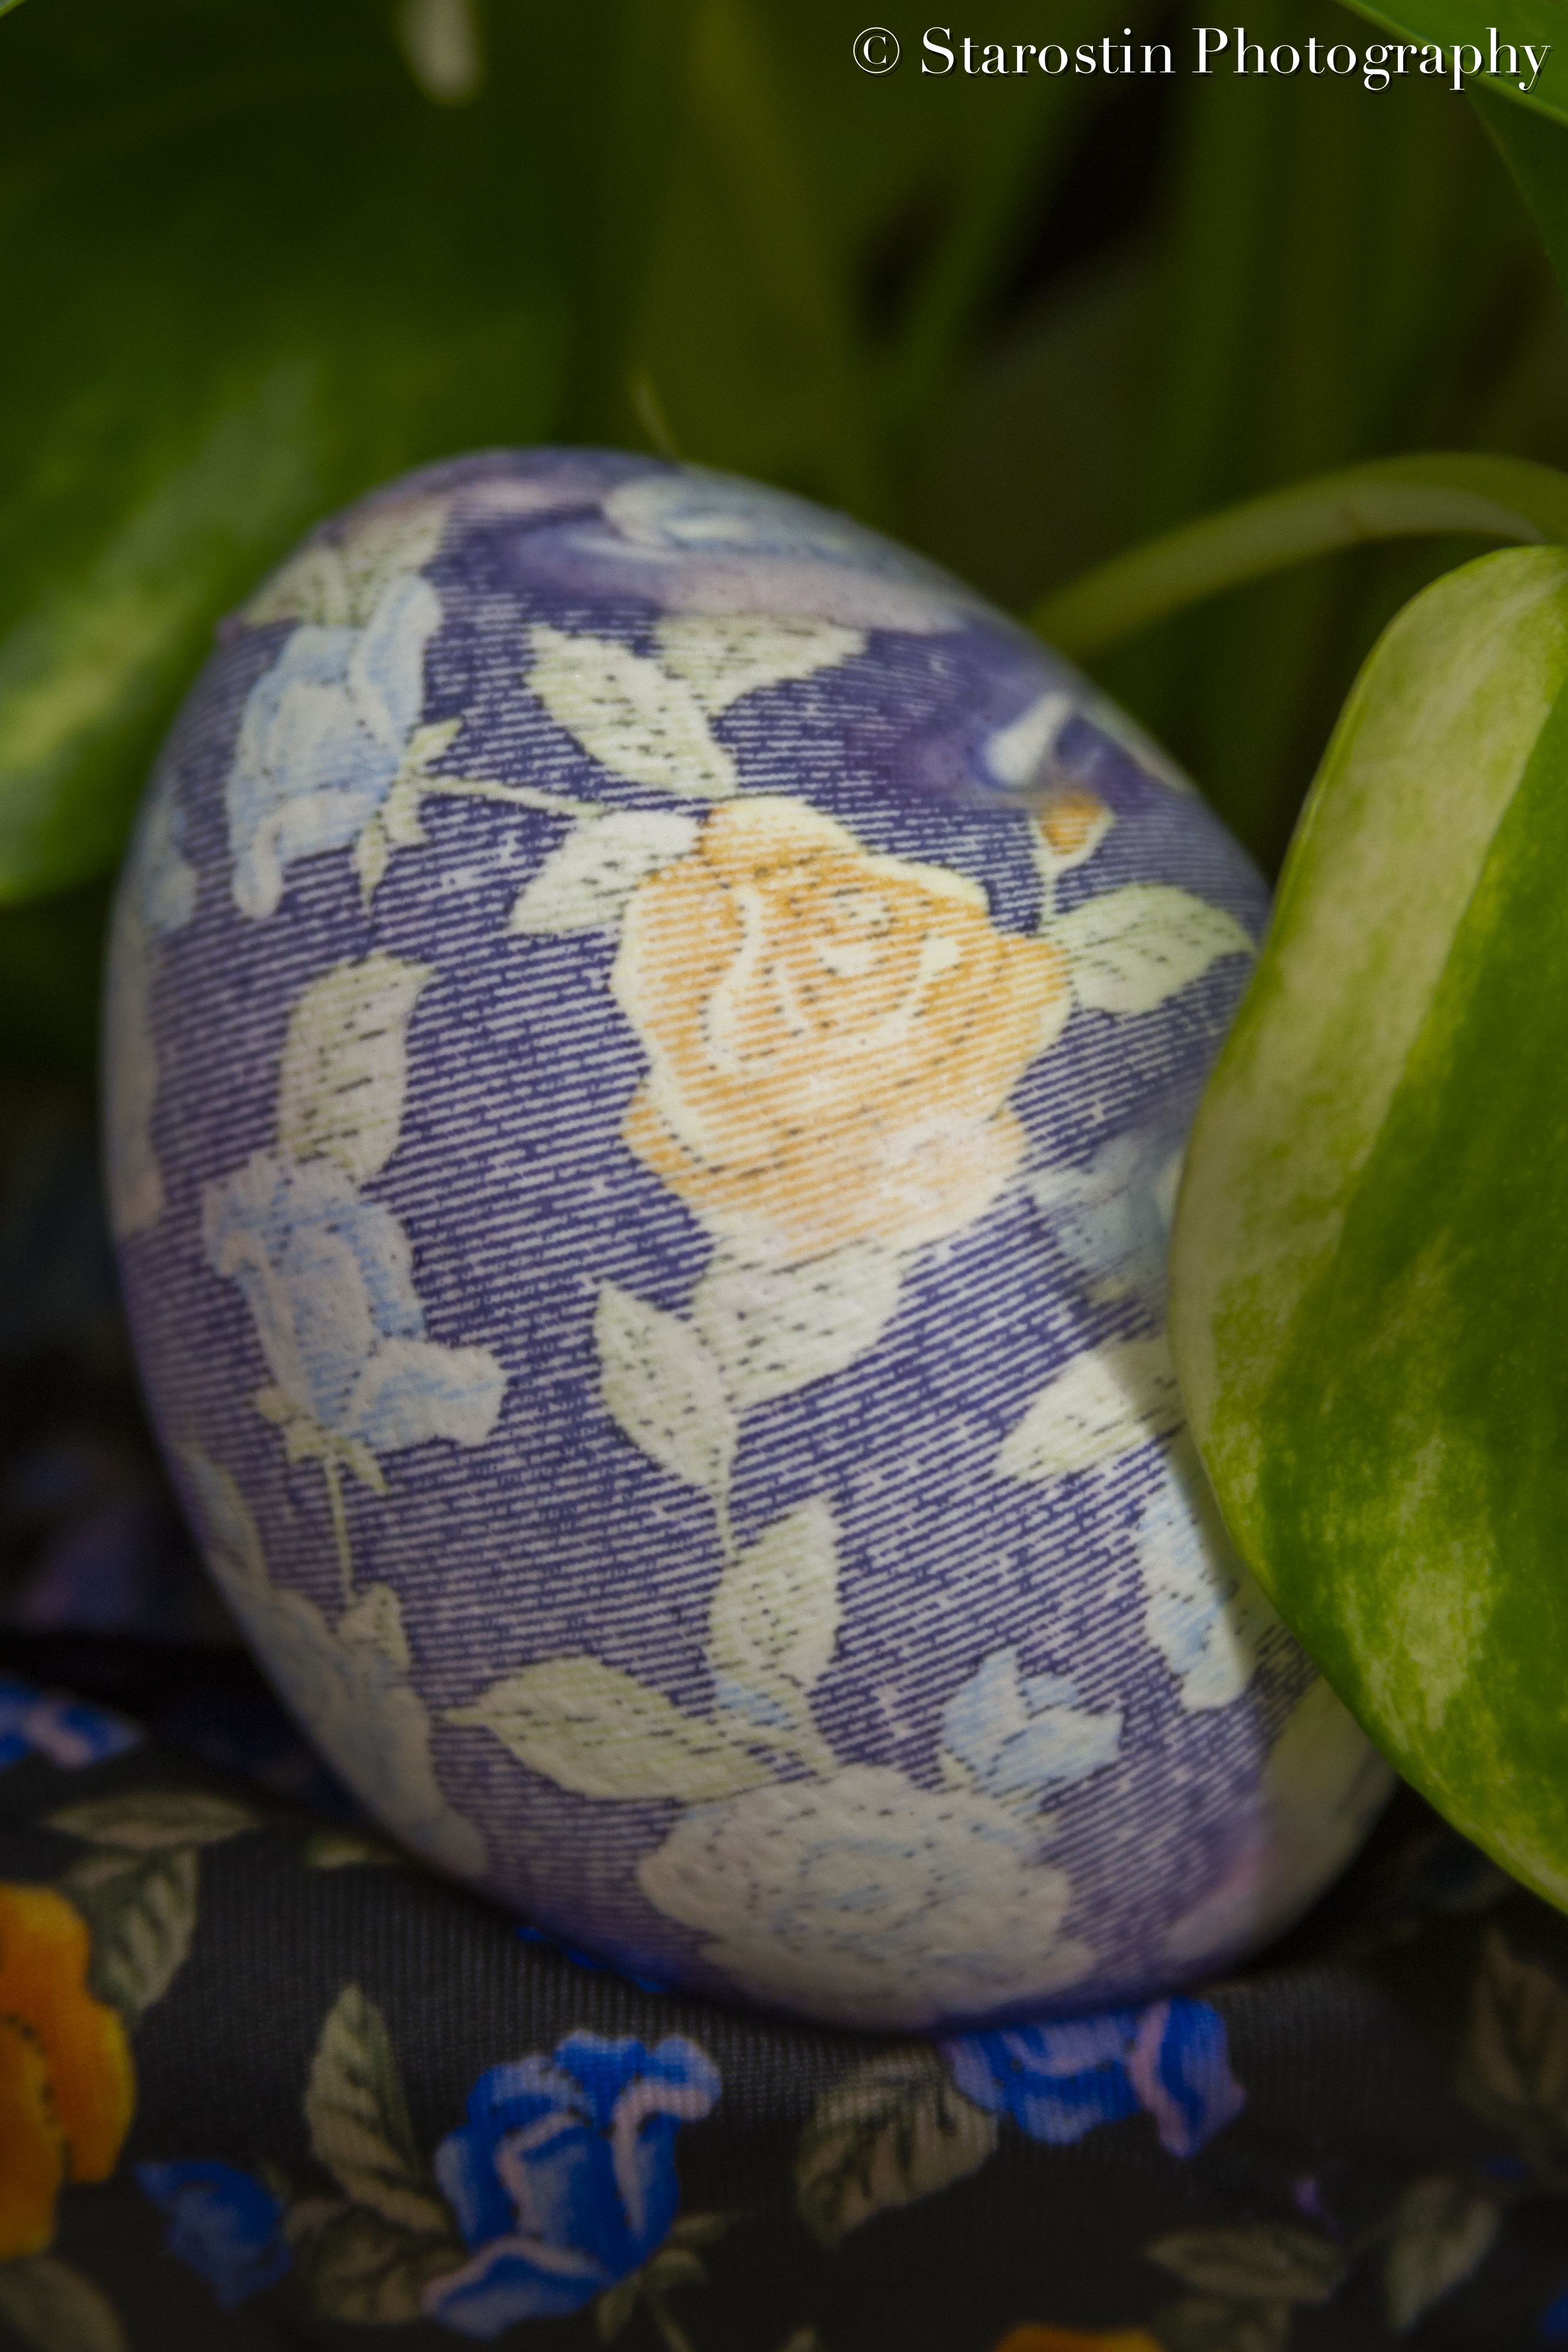
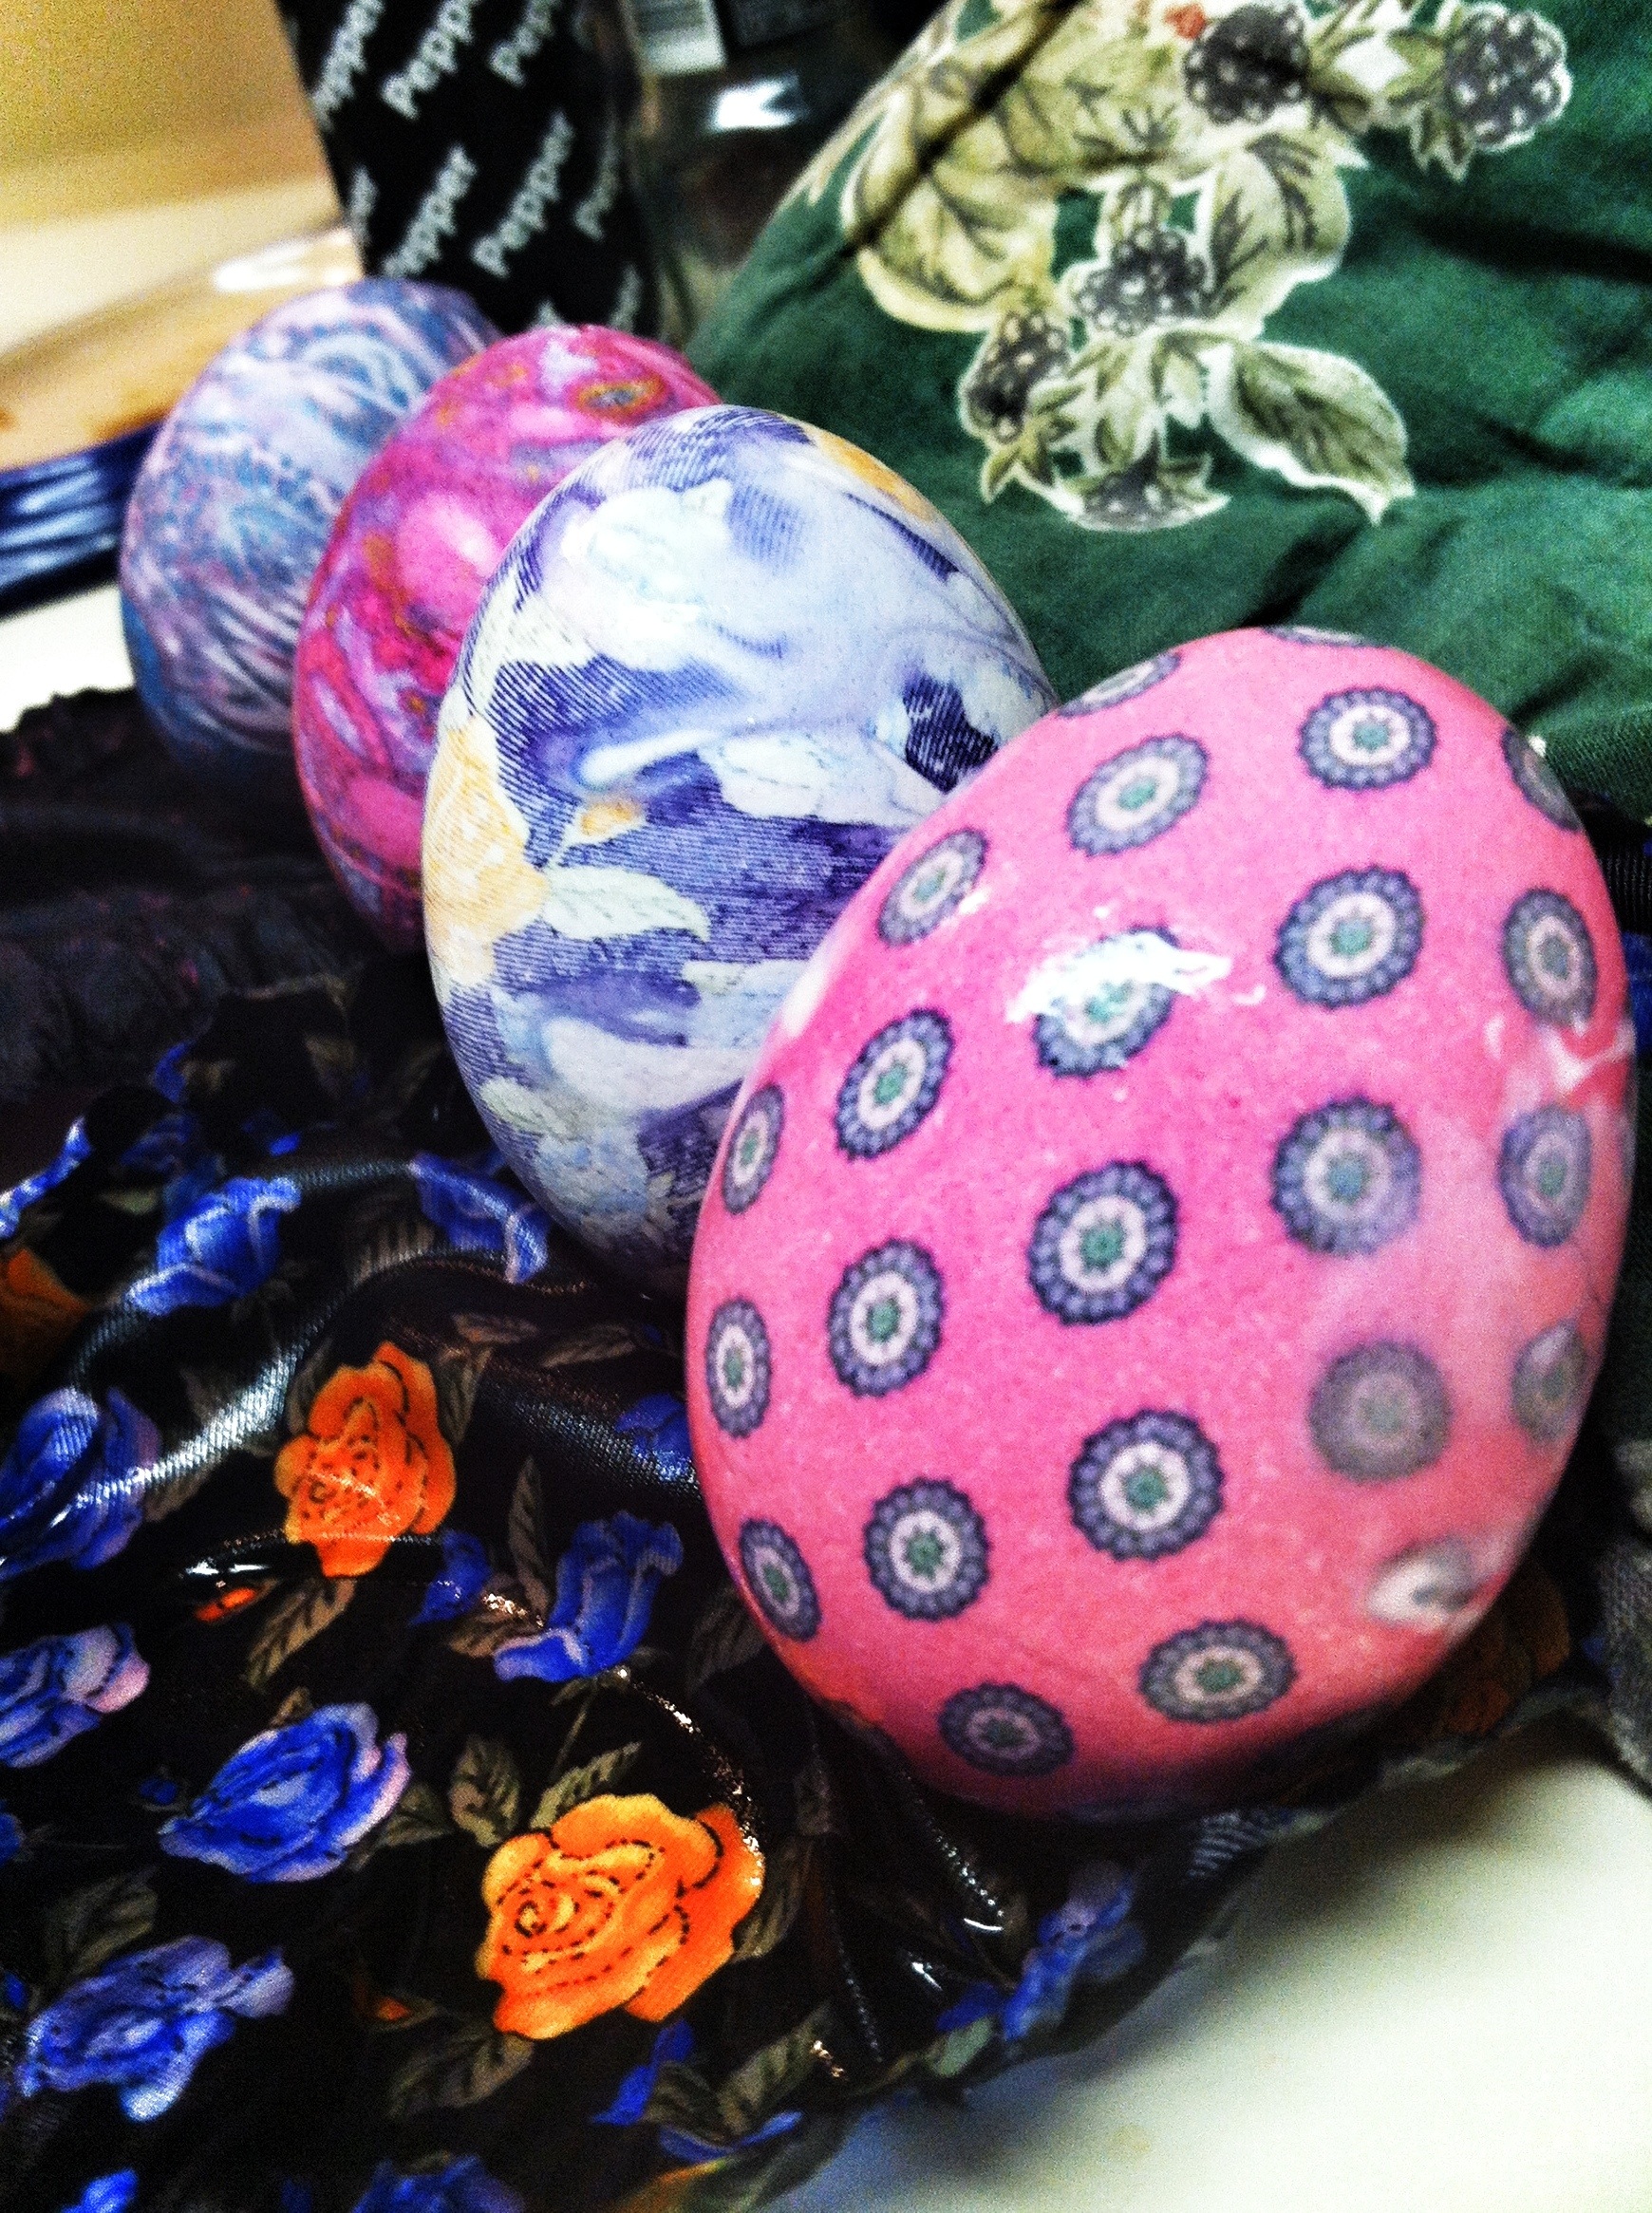
Enjoy your results!
